
Have you seen these cute little airplanes made of candy in blogland or on Pinterest? They are so cute and really pretty simple! I actually made them last year for Valentine's Day, so I thought I would do it again since I now know how to make them more quickly. They took me quite a long time last year, but this year, they were much easier because I had learned from my experience.
I thought I would share with you how to make them and teach you what I learned.

Here are the ingredients you will need for each airplane:
2 Lifesaver Candies
1 Stick of gum
1 pack of Smarties
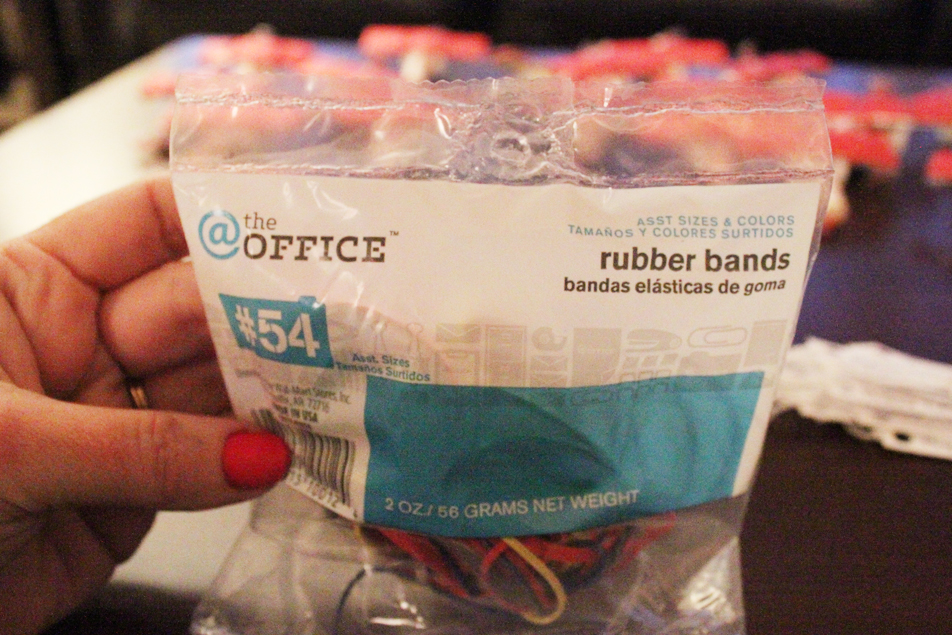
a rubberband
a printed message
heavy string (like kitchen string or twine... I used crochet yarn because I had it around)
white cardstock
scissors
a hole punch
straight-edge cutter if you have one
I found everything here at Walmart Supercenter. The candy and gum was in the regular candy and gum aisle which is in the food section... who knew? The cardstock and the rubberbands were in the stationery aisle. I liked the Flare 5 gum because the wrappers were red. Some of the other 5 gums have different colored wrappers.... like, I think the peppermint wrapper is black.


I suggest you get the assorted rubberbands because it is hard to say which size is the best for this . I got these at Walmart and there were several sizes and thicknesses. The medium, thin ones seemed to work the best.
Start by using your scissors and open all of the Lifesavers you will need. Mine were individually wrapped, but if you find the rolls, it would be easier. Thread a medium-sized rubberband through the holes of two lifesavers. You have to find the best rubberband so as to not bend the gum too much {as you will see further down the page}.

Now place the wrapped gum through the loops of the rubberband.

Pull the Lifesavers apart and stick the end of the Smarties between the gum, rubberband and the Lifesavers. You can see how the rubberband pulls the gum down. This is where you will need to experiment. Once this was together, I straightened the gum and it was fine.

Next, you need to use your straight-edge cutter to cut your messages. I printed them on cardstock using a size 18pt font with 18pt space between them. Again, you will have to experiment depending on the font you choose. You could also do a hand written note which could be really cute in a child's handwritting.
Cut a V-shape out of the end of the banner and cut a hole in the front of the banner for the string.
If there is a difficult part, it is tying the string on. I tried many things last year and found that this is the best way to do it.....
I used a 10-inch piece of string, folded in half. This is too long, but you can trim it at the end. It is easiest to tie the knots with a longer piece than a shorter one. So, fold the string in half, like below.

Thread the folded part of the string through the hole like so....

Loop the ends of the string though the loop like so....

Pull tight (but not too tighly or you will rip the paper!) on the ends to attach the string to the message.

Now, to attach the Smartie to the message, you will create a slip knot. Fairly close to the message end of the string, create a loop, like so....

Pull part of the excess ends through the loop you just made, but don't pull the ends through!

It should look like this. Tighten the knot part of the way. It should still be a little loose.

Now, put the end of the Smartie through that loop we just made.

Pull the ends of the string. This will tighten the slip knot around the Smartie.

Trim the excess ends (but not too close to the paper or the slip knot can come undone)

Here is the finished product. Cute right? I also decided to put two kinds of gum in these because it made them sturdier and the kids get more of the stuff they love.... gum!


.jpg)


